How To Replace Laundry Taps Australia – DIY Plumbing Guide
Taps are one of the essential requirements for a bathroom. Thus, a leaking laundry tapware can be a source of major problems if you don’t fix it soon. Luckily, repairing a leaky tap can be an easy DIY project in most cases with the help of a few common household gears.
Changing a tap washer is a hassle-free task. You don’t need to work with pipes, drills, or highly toxic chemicals. You can change a tap washer by following five simple steps without the need to call a plumber! Such skills are helpful when there is a shortage of labor or in case of an emergency.
If you are one of those who have no idea how to replace a laundry tap, then this DIY guide is for you.

When Do You Need to Repair a Laundry Tap Washer?
Taps have two main parts – the tap washer and the seat. Tap washers are small discs placed inside a fixture. The washer pushes against the seat when you turn off a tap. It creates a watertight closure, thus preventing the water from flowing out of the tap.
A tap usually leaks when the tap washer gets damaged. When you find your laundry tapware constantly dripping even after you’ve turned it off harder, it is time to change the washer. With regular usage, washers are subjected to wear and tear. Thus, the washer fails to create a watertight closure, and water drips through the spout.
There are many types of taps available in the market. Each type has a separate way of fixing the tap washer. Rubber washers are more commonly used for laundry taps Australia. However, the more modern faucets are likely to be equipped with ceramic disc cartridges. If you have such fixtures, it’s best to call for professional help rather than trying to fix them yourself.
The annoying dripping usually stops completely after changing the tap washer. However, if the leaking continues even after replacing the washer, then get in touch with your local plumbing company to get it fixed. You can also buy laundry taps online if the entire tapware needs replacing.
Replace a Laundry Tap: A Step-By-Step Guide
Before you start, you need to ensure you have standard taps, as this guide is meant for the standard ones. If you are unsure whether your leaky tap falls under the “standard tap” category, we recommend you contact a professional. You should also remember that changing a washer usually fixes the problem, and not all taps work the same way. This guide may help you, but there could be unavoidable situations.
Next, you need to gather a few tools before getting started. These tools are usually available in most homes, but you can easily find them at supermarkets or hardware stores if they aren’t. All you need are tap washers, a spanner, a flat-headed screwdriver, and some old cloth or towel. For good quality materials, you can check out Wellsons laundry taps or washers.
Step 1
Before beginning, you need to cover the basin drain. It will help screws and other small components from falling down the drain. Moreover, placing a cloth or towel inside the bath or basin will ensure the surfaces remain undamaged from dropping heavy tools through the process.
Step 2
Now that you are all set stop the water supply by turning off the isolation valve underneath the tap or turning off the main water supply if there is no valve. Turn the valves clockwise to cut the water supply. It is to ensure your kitchen or bathroom doesn’t get flooded. If you are replacing the washer on the hot water tap, make sure to turn off the immersion heater and boiler.
Step 3
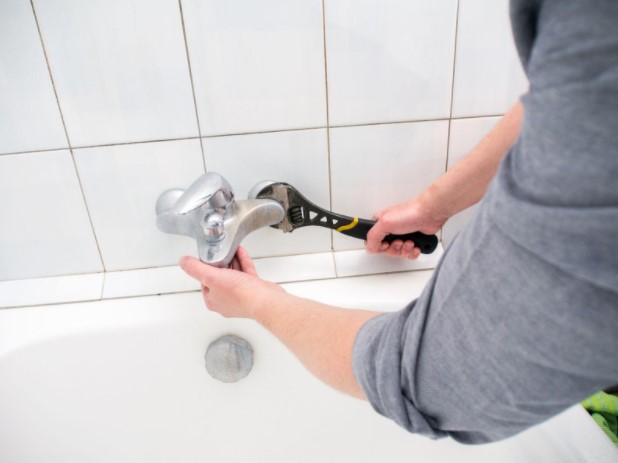
Next, remove the tap head with the flat-headed screwdriver from your toolbox. It will uncover the valve. Undoing the valve can be difficult. So, take a spanner to remove it and if you still find it stiff, brush penetrating oil around it and let it soak before you try again.
Step 4
After removing the valve, you will find the washer secured underneath it with a nut or a screw. Now remove the old and worn tap washer and replace it with a new washer in the same size.
Step 5
Once the tap washer is changed, you need to put the tap back together. It’s a simple process where you reverse the steps that you followed until now. Do not screw the valve too tightly, as the rubber seal is meant to secure it completely. Attach it on the tap body and place the top firmly.
Follow these five simple steps, and voila, you’ve successfully replaced the tap washer. Now you can finally enjoy a non-leaky tap.
How to Prevent Leaking Taps?
If you found this process daunting and don’t want to change a washer, ceramic discs are your best bet. While there are no taps that guarantee against leaks, ceramic discs are particularly durable and resilient. Installing a ceramic disc will reduce the number of times you change them instead of a normal compression washer. You can buy Bunnings laundry taps from both online and offline stores if you’re looking for high-quality products that also add to the appeal of your bathroom spaces.


